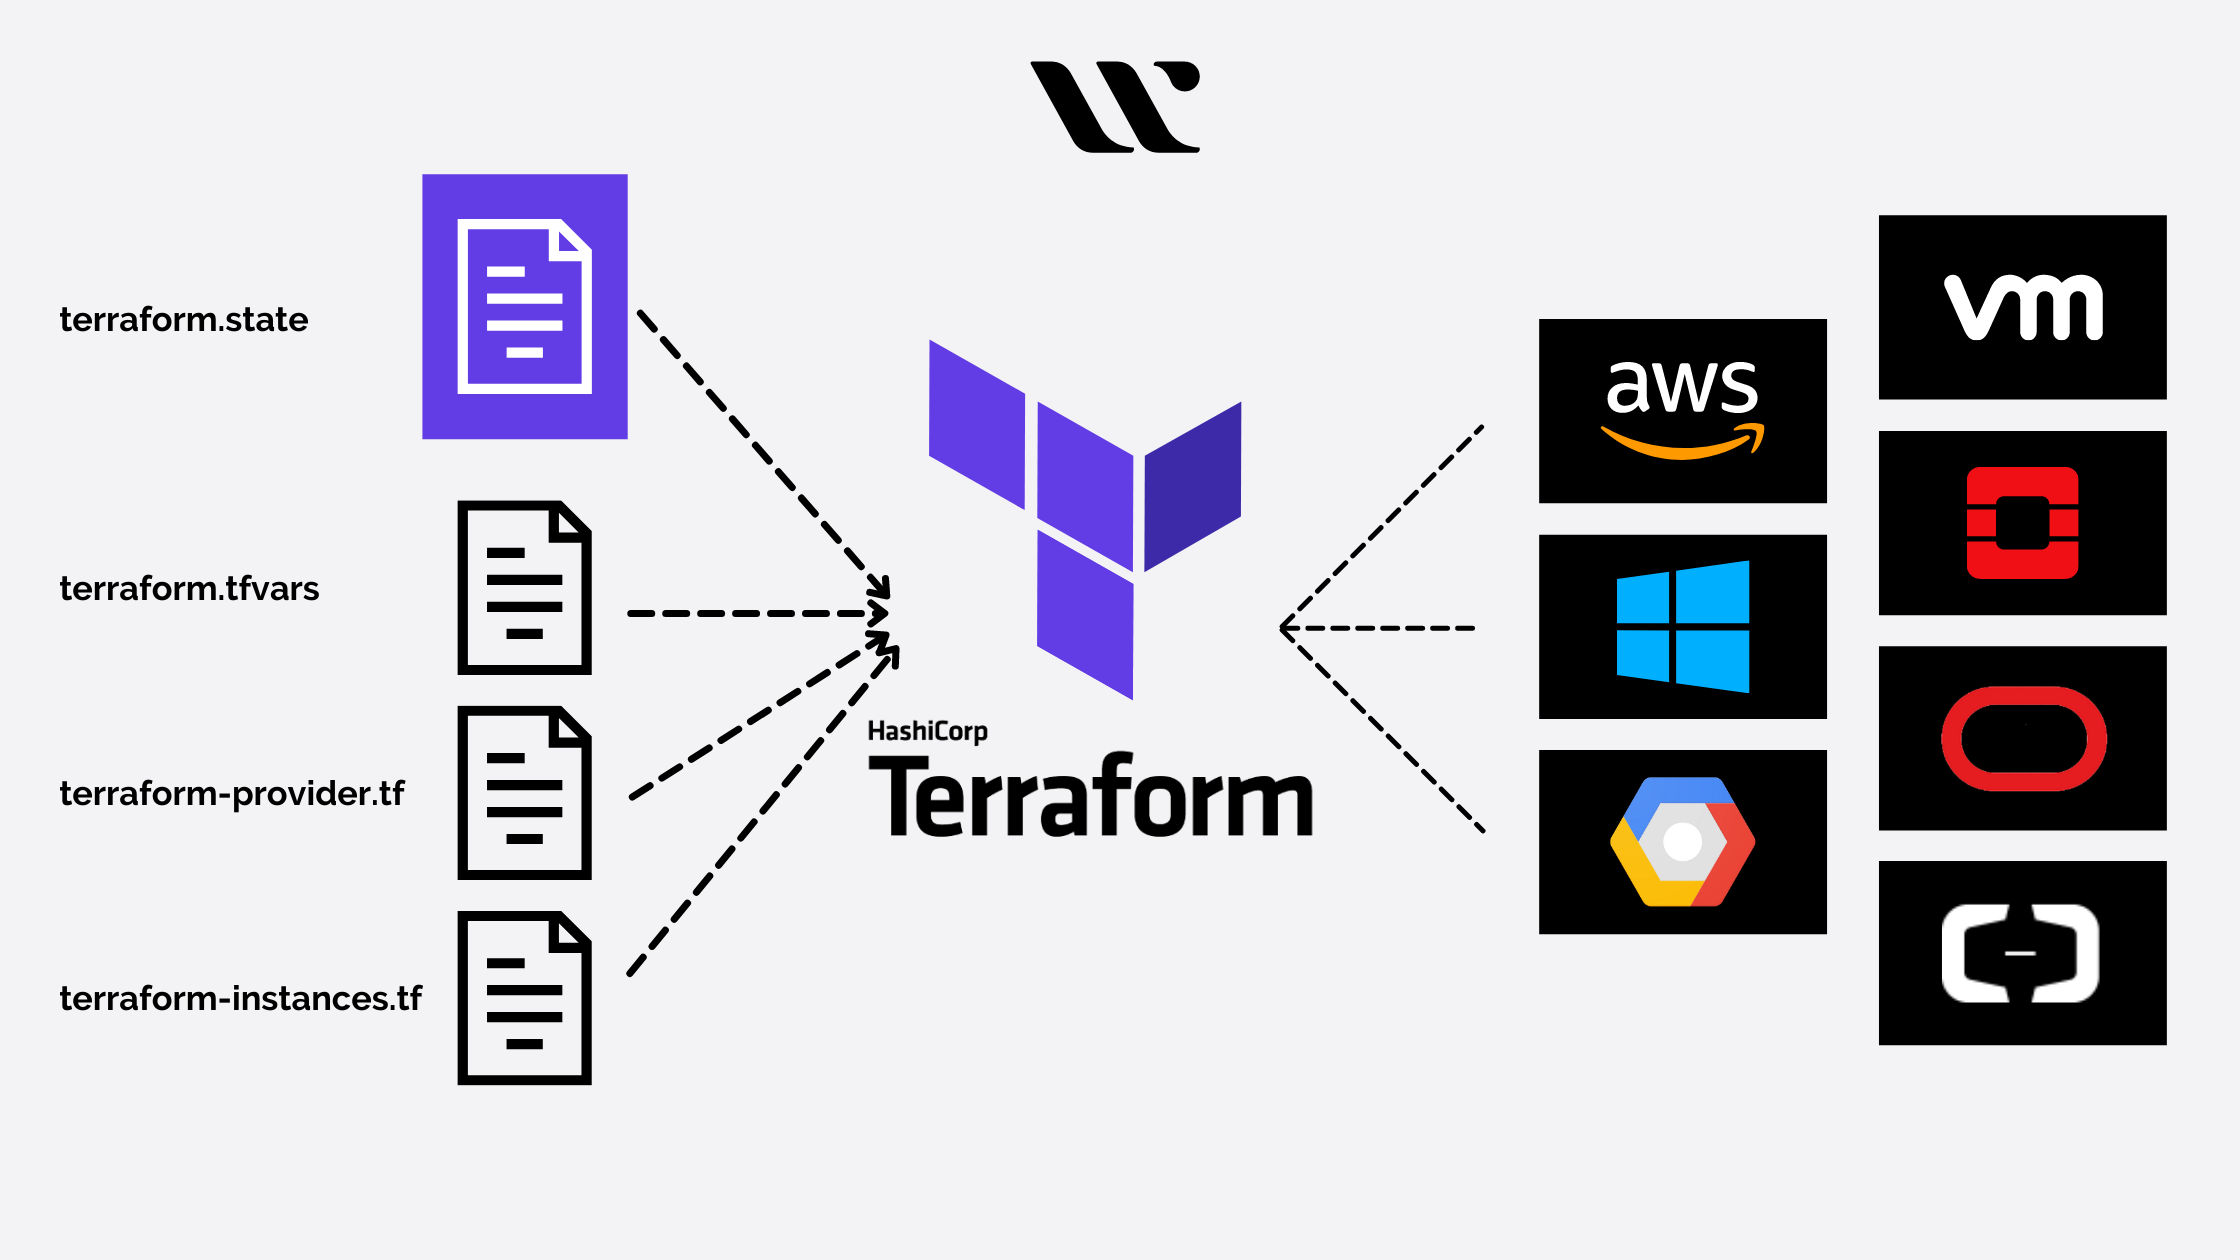
Create your first project with Terraform
Learn and understand the process behind provisioning basic IaC with Terraform.

Part 1 - Understanding Terraform and Infrastructure as Code
Terraform is a tool that enables you to define and manage your infrastructure using ‘declarative’ config files. It follows the principle of infrastructure as code (IaC). It treats infrastructure components such as servers, networks, and storage as manageable software artifacts. If you are unfamiliar with the concept of IaC, check out my explanation of it here.
Part 2 - Prerequisites
Before we dive into creating our first Terraform project, let’s ensure we have all prerequisites in place:
Visit the official Terraform website (https://www.terraform.io/) and download the appropriate version for your operating system. Follow the installation instructions provided. Next you need to choose a cloud provider such as AWS, Azure, or Google Cloud and create an account. Make sure to obtain the necessary access credentials (i.e. API keys, or access tokens).
Finally, set up the necessary access credentials on your local machine. Each cloud provider will have their own documentation for this step. My choice is AWS, so I recommend you use this as a guide: https://docs.aws.amazon.com/cli/latest/userguide/cli-configure-files.html
Part 3 - Project Setup
Let’s now set up a new Terraform project from scratch. Start by creating a new directory for your project on your local machine. This directory will be the root for your Terraform project.
Next create the following files:
- main.tf: This file will contain the main Terraform configuration code.
- variables.tf: Use this file to define variables that can be used in your Terraform configuration.
- outputs.tf: Define any outputs you want Terraform to display after applying the configuration.
Finally we can initialize the project. Open your terminal or command prompt, navigate to your project folder, and run the following:
terraform init
This command initializes the project and downloads the necessary provider plugins.
Part 4 - Writing Terraform Configuration
Now that we have our project set up, let’s write our first Terraform configuration file (main.tf) to define resources. For this example, we’ll create an AWS EC2 instance:
provider "aws" {
  region = "eu-west-2"  # Replace with your region
}

resource "aws_instance" "example" {
  ami           = "ami-0c94855ba95c71c99"  # Replace with your desired AMI ID
  instance_type = "t2.micro"
}
Save this code in the main.tf file within your project directory.
Part 5 - Provisioning Infrastructure
It’s time to provision our infrastructure using Terraform:
Plan the Changes: Open your terminal or command prompt, navigate to your project directory, and run the following command:
terraform plan
This command performs a dry-run and shows the execution plan without making any changes. It provides valuable insights into what resources Terraform will create, modify, or delete.
Next we will apply the changes. If the plan looks satisfactory, proceed to apply the changes by running the following command:
terraform apply
Terraform will prompt for confirmation before making any modifications. Enter “yes” to proceed. The apply command creates the specified resources in your cloud provider account.
Part 6 - Managing State
Terraform uses a state file to track the resources it manages. Proper state management is crucial to ensure accurate tracking of infrastructure changes and enable collaboration within a team. Let’s explore how to manage Terraform state.
Local State. By default, Terraform stores state locally in a file named terraform.tfstate. This can be found in your project folder. While suitable for individual use or small projects, it’s not recommended for collaborative or production set-ups.
Remote State. Consider configuring remote state storage for better collaboration and stability. This can be set up in a multitude of ways. The easiest is provided by Terraform Cloud, however at the time of writing this is a premium feature. Alternatives include storing the ‘state’ file securely in cloud object storage (e.g. Amazon S3).
Part 7 - Cleaning Up
To avoid unnecessary costs, it’s important to clean up the resources we provisioned when we no longer need them. Open your terminal or command prompt, navigate to your project directory, and run the following command:
terraform destroy
This command will identify the resources defined in your configuration and destroy them. Terraform will ask for confirmation before proceeding. Enter “yes” to proceed. After destroying the infrastructure, you can safely remove the project files from your local machine.
Conclusion
And so you did it! You have successfully created a basic infrastructure, provisioned it, and (hopefully) cleaned everything up nicely! From here on you can go a step further and build out the infrastructure you provision. As the project becomes more complicated, you may want to look into tools such as ‘modules’ to help you organise your resources better. All the tips and tricks are very well contained in the official HashiCorp Terraform documentation. SO please go ahead and give that a read too! (https://developer.hashicorp.com/terraform/docs)
Anyway. Happy provisioning!